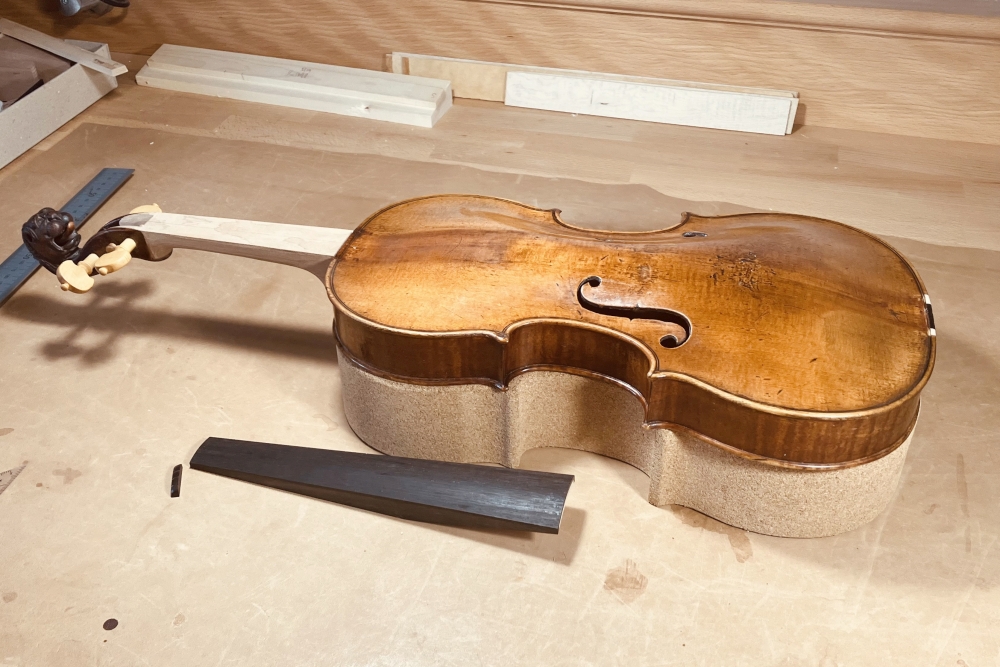
Restoration to an authentic, Baroque playing condition
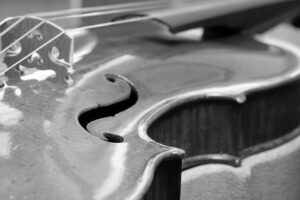
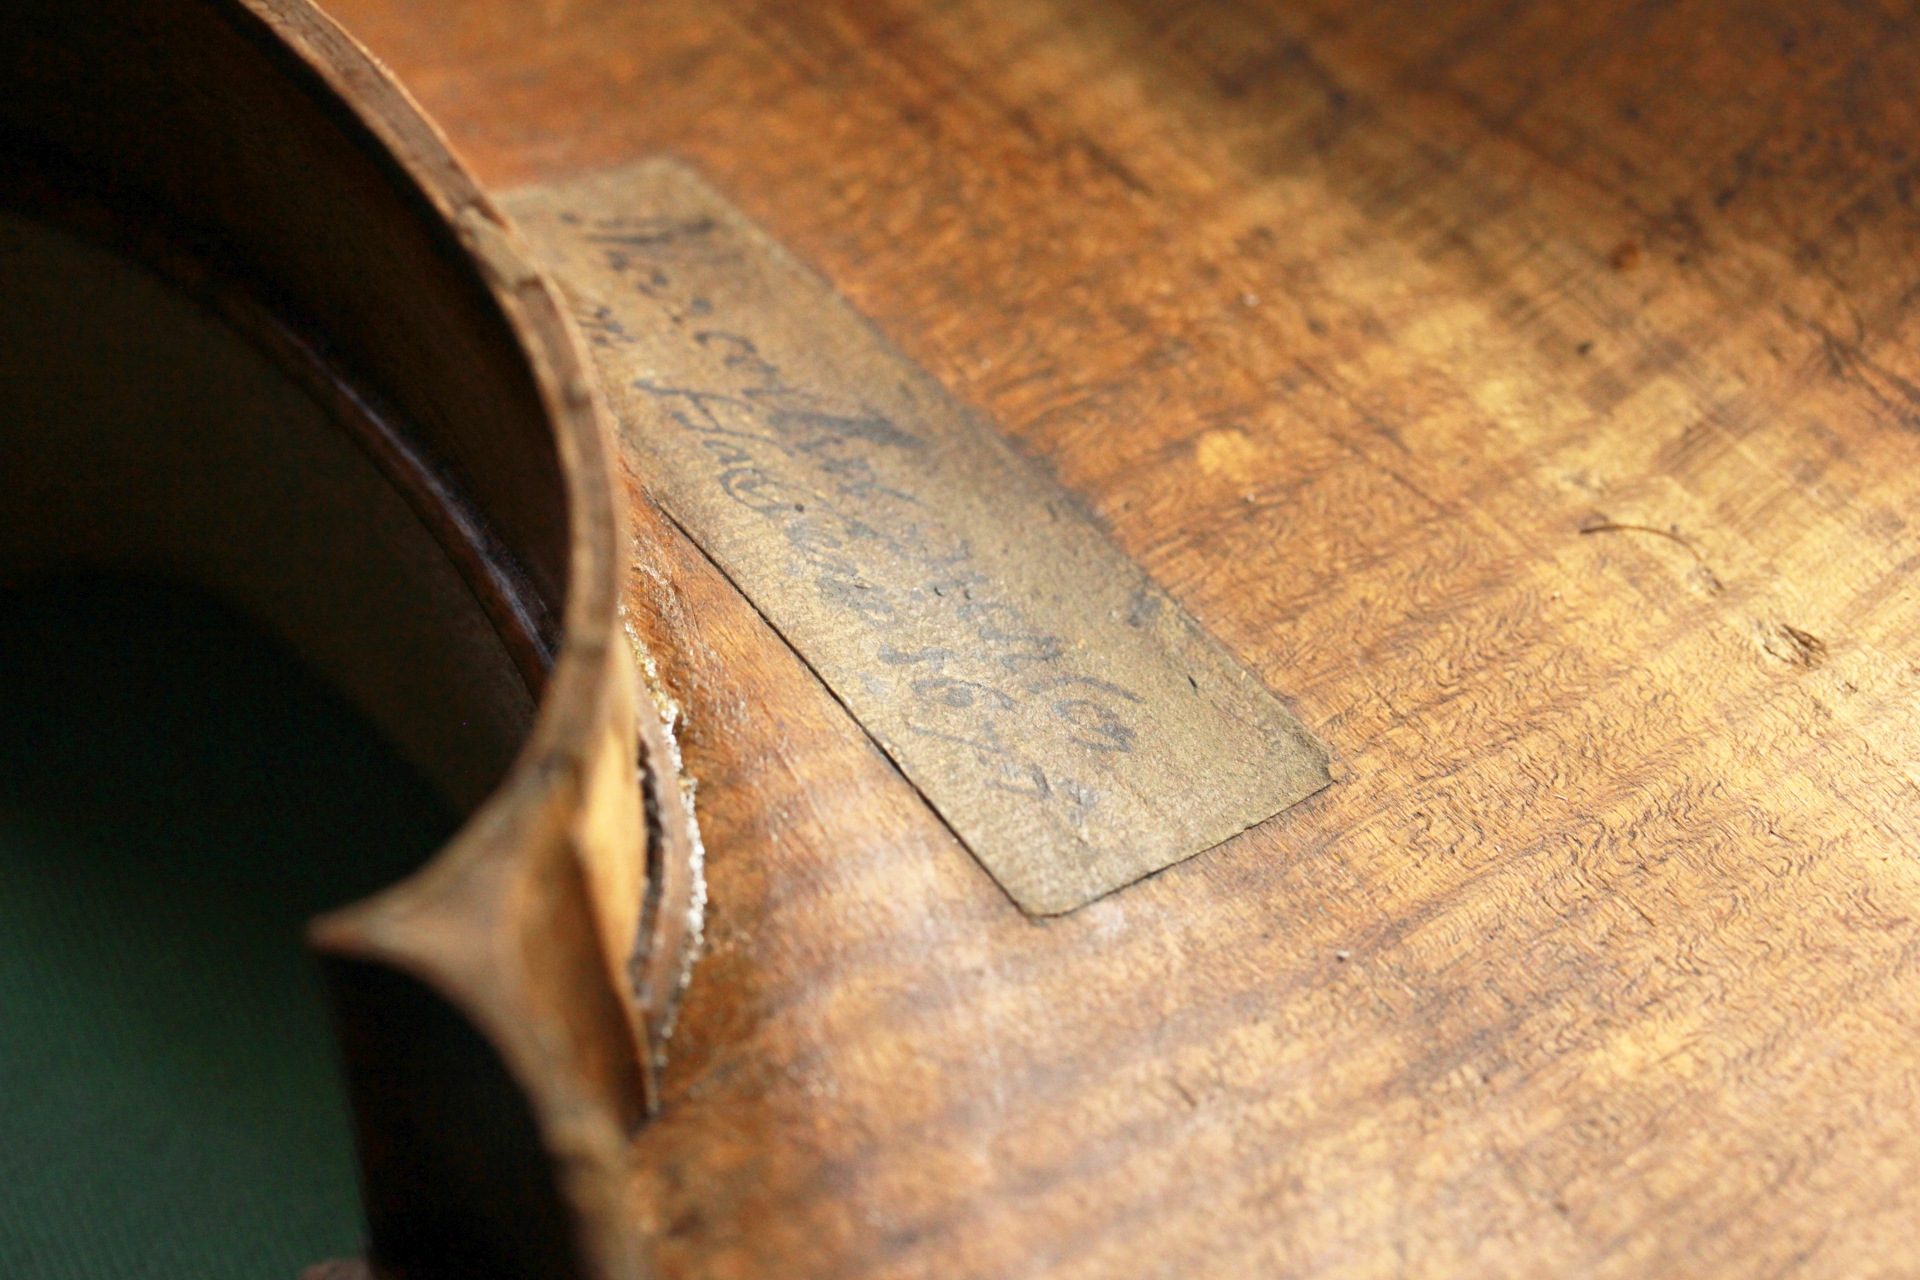
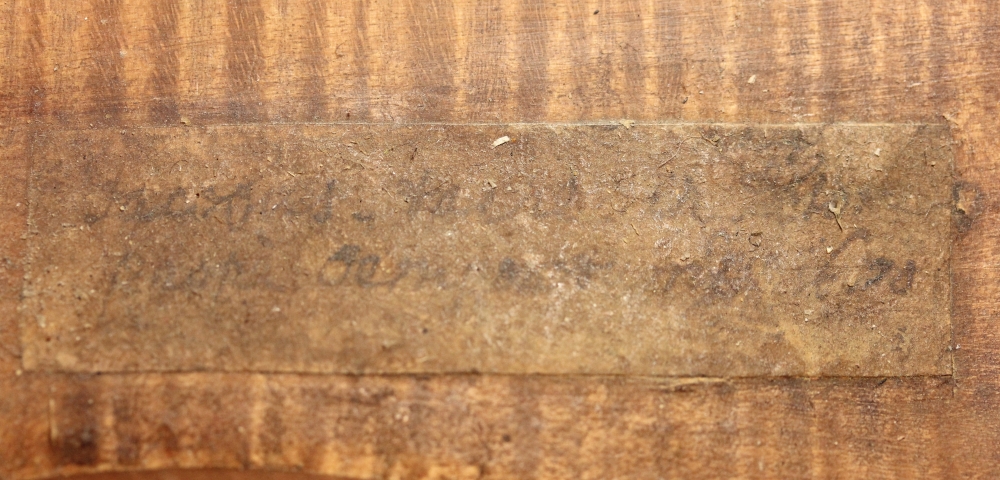
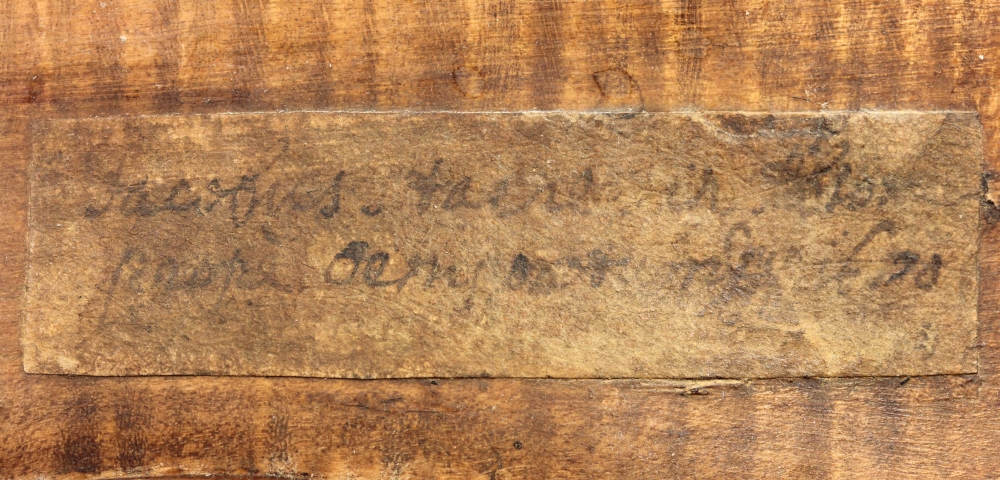
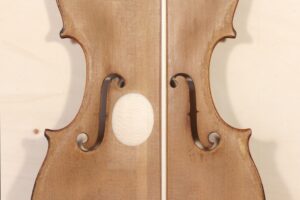
In this article, we look into the restoration of this wonderful violin by Jacob Stainer to an authentic, baroque playing condition. Of the still preserved instruments by Jacob Stainer, this violin is a stroke of luck. Although one finds a soundpost patch on the front and the back, the thickness of the plates remain substantially unchanged. Given its age of approximately 350 years, it is also in very good condition elsewise. Except for three repaired corners and fillings on the gluing surfaces to the blocks, the entire edge of the soundboard is original. So far believed as having been made in 1670, the undoubtedly original label suggests the year 1678 after careful cleaning.
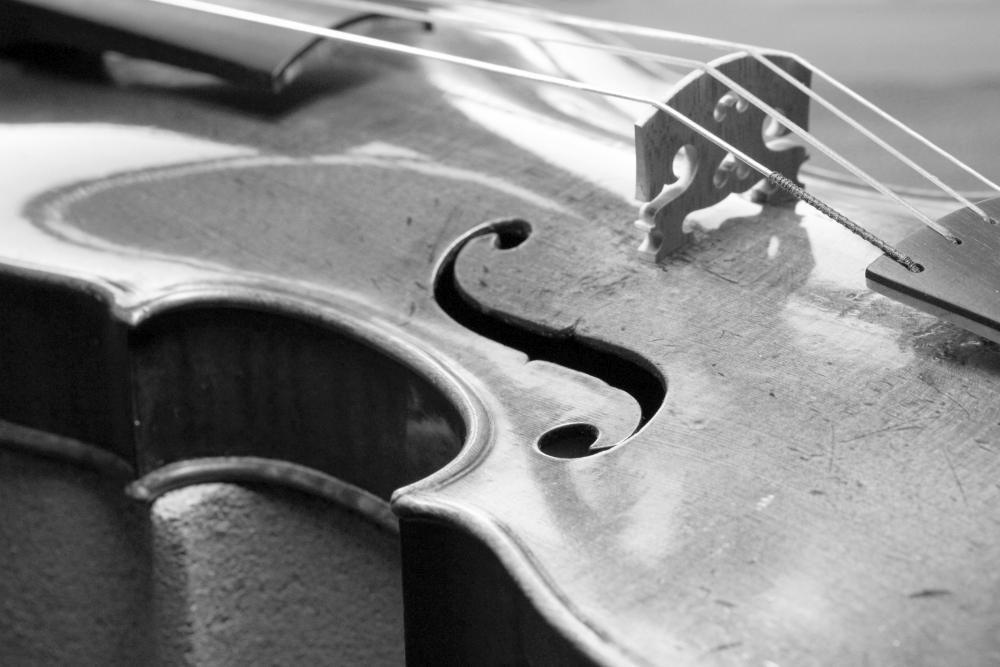
The violin had been brought to a condition that could be characterized as typical of the Viennese Classical period. It had a steeply set neck, a rather high bridge and an acute string angle. Its bassbar inside was markedly wide, being heavier than one would expect the former.
The owner’s wish was to uncover the instrument’s tonal potential and restore it to an authentic playing condition. The sound condition of its body was very promising in this respect. In the remaining text, we will now examine the specific questions involved. Technical details of realisation and the accompanying restoration work will be omitted here.
Comparative instruments
Two violins by Jacob Stainer are preserved in largely unchanged condition, with readily accessible documentation. An instrument from 1679 is, among other publications, described in issue 04/1990 of TheStrad Magazine. Another instrument from 1668 is housed in the collection of the National Music Museum (NMM) in Vermillion, South Dakota, USA (https://emuseum.nmmusd.org/objects/7891/; accessed on 11/17/2025). This second instrument is particularly famous among experts. It has an unchanged neck geometry, a a fingerboard that is very likely original and an authentic bass bar. The violin from 1679 also has an unchanged bass bar and neck, but the fingerboard is a contemporary replacement.
Focus in planning
For restoring an instrument to an authentic playing condition, I understand the following two points as the central, systemic areas of planning
- the bassbar, in position, length, height and mass distribution, and
- the string angle(s) over the bridge and the neck projection as foundation for the side-view geometry.
Let us take a closer look at these points.
Bassbar
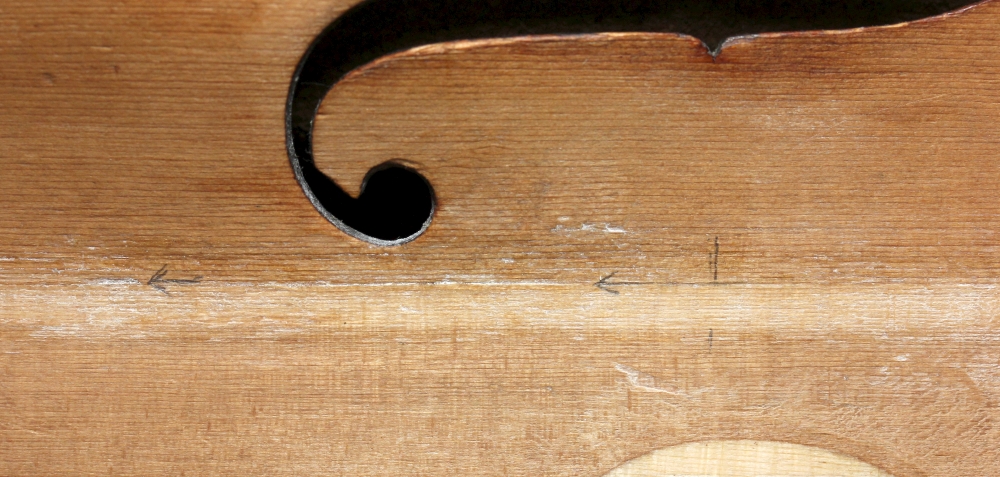
After removing the previous bassbar, I found incisions within the gluing area, which, under magnification, can be identified as very likely original based on the wood color and wear. Transferring the position and orientation of the bass bar from 1668 proportionally to the soundboard in question, one arrives exactly at these marks. Positioning it there, exactly parallel to the annual rings, therefore appears authentic.
Of the bassbar from 1668, being approximately 220 mm long, 4 mm thin and semicircularly profiled, it is particularly interesting to note the following details:
- The bar is tilted towards the center joint. It stands at approximately right angles to the inside of the soundboard in the lower and upper bouts.
- Both, growth direction and vertical alignment, show annual rings corresponding closely to those of the soundboard. In my opinion, this can be perceived as intentional. In a sense, we see a bass bar as a locally precise thickening of the front. A possible connection to the forebearer’s practice of leaving a stronger center rib!
- The mass distribution is asymmetrical. The highest point lies between the upper f-hole (the area of greatest thickness) and half the length. Towards the bridge foot, the height already decreases noticeably. The value may come as a surprise: at its highest point, the bar measures only around 4.8 mm to the inside of the soundboard. It is also visible that Stainer had glued the bar in longer and shortened it by about 8 mm during shaping. One can assume that this was a deliberate adjustment.
This recognizably systematic concept was implemented here. However, the bar was not made to strict, numerical values, but rather shaped in sensitive adjustment to the soundboard and homogeneous tone development in itself. It was astonishing how free, resonant, and responsive the front sounded compared to its previous state!
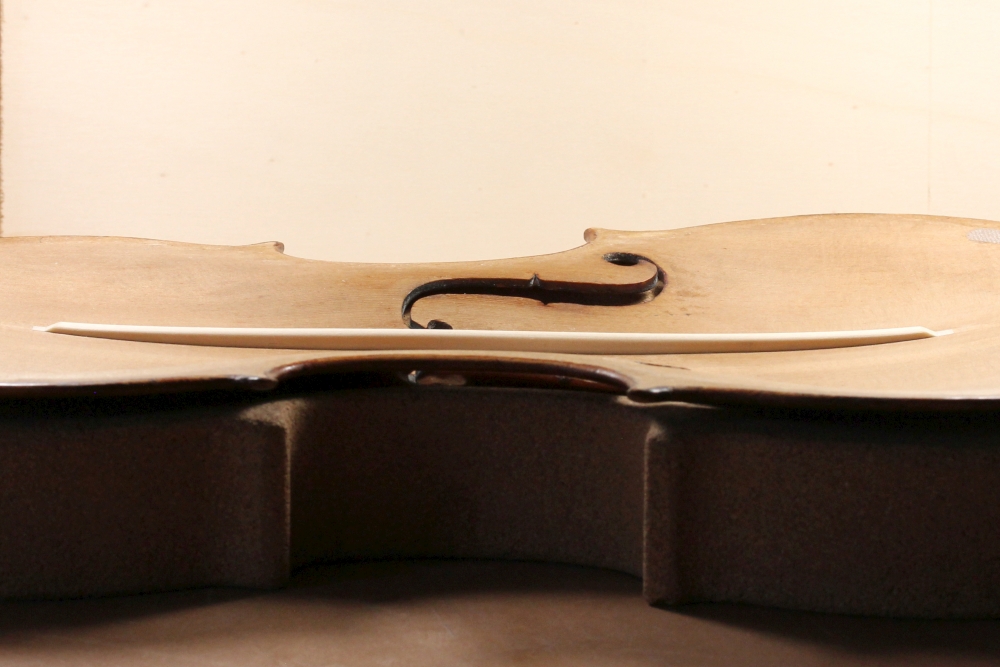

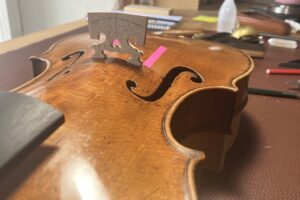
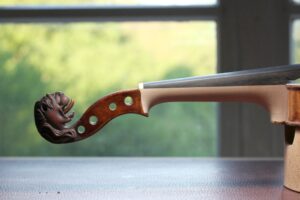
Side-view geometry & Setting the neck
Due to its very likely original fingerboard, the violin from 1668 is a substantial reference point for planning a historically accurate side-view geometry. With a string elevation sympathetic to playing technique, the (virtual) string angle in the longitudinal plane measures 157.5°. How is this “string triangle” arranged? The saddle, which runs flush with the edge of the soundboard, fixes one leg. The neck projection determines the other: the distance from the nut’s anchor point to the longitudinal axis of the soundboard’s gluing surface on the rib structure can be determined on the reference instruments to be between 1.5 and 2 mm. If we add the fingerboard with its thickness of 5 mm at the nut’s highest point, we have found the reference point for the second leg.
This consideration is applied to the instrument in question to consequently derive a functionally sound bridge height. With a planned neck projection of 1.5 mm, a (virtual) string angle of 157° (minus 0.5° to allow for possible rising of the neck under string tension) and a very comfortable average string elevation of 3.5 mm at the end of the fingerboard, as well as the soundboard’s arching height of 18.4 mm, one finds a bridge height of 28.5 mm. This may seem oddly small in a modern context. Along with the narrow width of only 38 mm, it roughly corresponds in size to the bridge of a 3/4 violin. But it is just right if you don’t want to “build in” excessive and oppressive string angles.
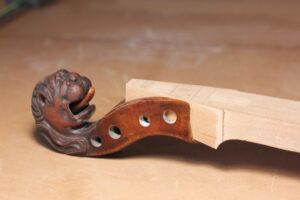
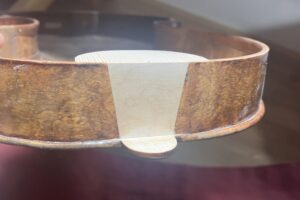
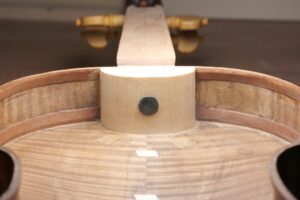
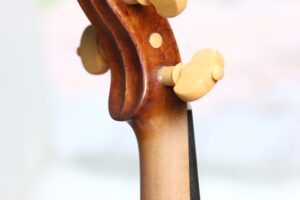
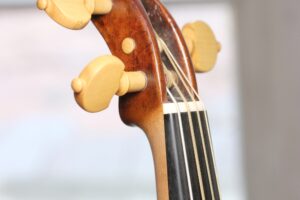
After replacing the upper block, a new neck has been grafted to the lion’s head made of pear wood. It has been set with a blunt joint, glued to the rib structure and secured with a forged nail. Taking the greatest possible care to preserve original substance, the missing section on the neck insert was patched with straight sides only. Since original base layer showed just next to it, the original neck foot was at least not wider. This is a boundary condition for designing the neck and fingerboard widths. With the width of the nut, which is closely defined by the peg box.
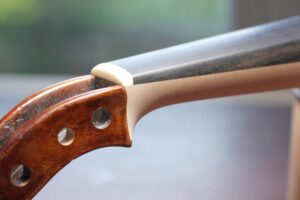
Fingerboard, Shaping of the neck & Retouching
The fingerboard of the violin from 1668 is interesting in several respects. The playing surface and sides are veneered with ebony. This became common with the advent of the wound G string.
- The core is verifiedly made out of maple, with annual rings spaced approximately 2-3 mm apart and vertically aligned.
- The grain runs parallel to the playing surface.
- A deep, V-shaped notch at the transition to the body. This makes the otherwise very stiff tongue more flexible and gives it tonal relevance.
Noteworthy is a twist of about 1.5 mm toward the bass side along the length, measured at the edges at the end of the fingerboard. This may be attributed to deformation over the centuries. It is equally possible that Stainer did this deliberately to achieve a more symmetrical bridge. Accordingly, one would have a shallower angle on the G string and a more acute angle on the E string. I strongly suspect this to be the case. Such a twist towards the bass side is also very pleasant in terms of playing.
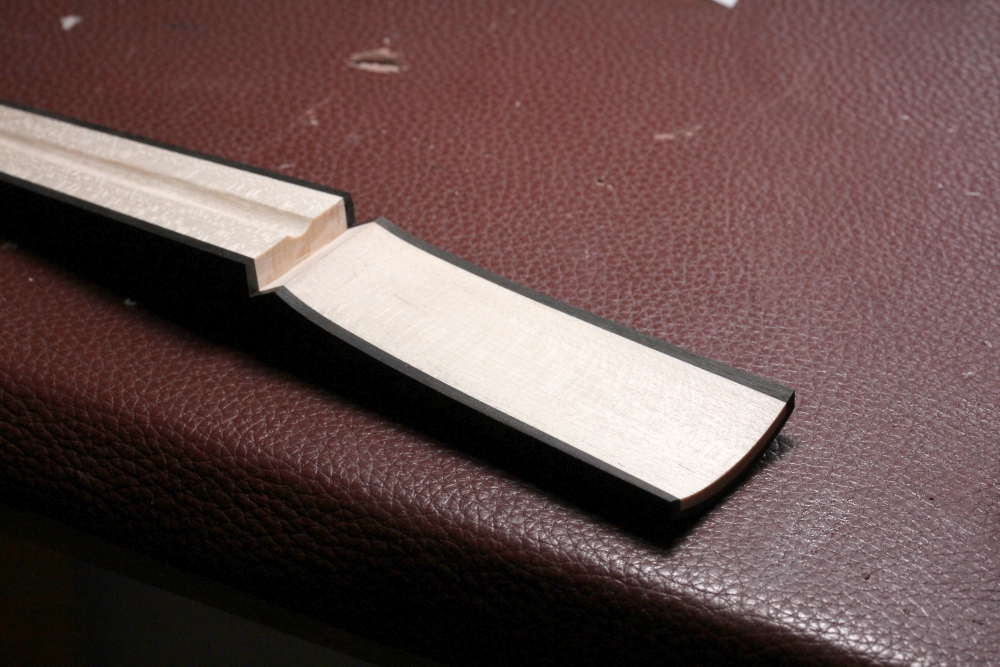
In consultation with the owner such a fingerboard was crafted here – a maple core with a twisted playing surface. The sides and the neck itself were shaped together in one go. Being of the lighter pear wood, the neck was initially left thicker and fuller than in the two reference instruments, but systematically related. The full cross-section profile, which was desired for playing technique, also helped to make the thick, supposedly difficult-to-use fingerboard wedge more comfortable. It enables a ‘perpendicular’ transition from the neck foot curve to the treble side of the fingerboard. The latter can thus be “drawn in” towards the playing surface. This is also very pleasant for the left hand.
Fine-shaping the neck in thickness and longitudinal & cross profiles was carried out under playing tension with adequate stringing and lead by tonal adjustment. It is truly astonishing what happens there.
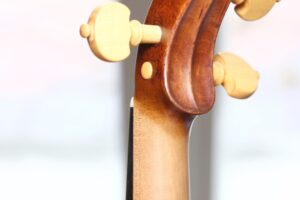
Sound adjustment
After completing the retouching on the neck foot and peg box, it was time to address set-up and sound. Neither the bridges on the reference instruments, let alone the strings, are original. Thus, the bridge models, as well as the tailpiece, are based on other originals or iconography from the period. We tried several custom-made models. A flat-arched tailpiece with a maple core and a bridge with a low base, ample wing mass, and double heart emerged as the most satisfying solution in terms of sound. On the string side, the search began with what is historically known. In detail, however, it is always the instrument that shows you what it needs.
Finding the optimal tension distribution for the four strings, which in sum had a tension of around 21 kg, was a passionate challenge for both of us. Now well played-in, the “reborn” violin enjoys a busy concert schedule in the hands of a professional baroque violinist. Hopefully for another 350 years.